by Richard Harrington – RHED Pixel – @rhedpixel
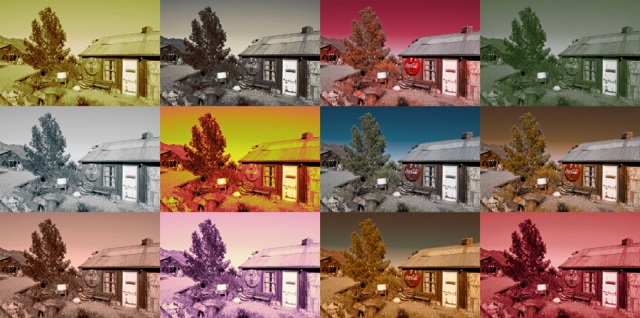
Like many folks, I like to experiment with color. Duotones, like ‘em. Romantic color effects, check. Crunchy color, I’m game. There are times when you want the “real” color of an image, but there are also times to experiment and take an image to a new place. My favorite technique for lots of alternatives with very little effort? The Gradient Map adjustment layer.
The easiest way to understand a gradient map is to look at the meaning of both words.
Gradient: A gradient is a gradual blend between two or more colors. You can use gradients to create a photorealistic backdrop or to draw in areas like a blown-out sky. The Gradient tool is extremely flexible and offers the versatile Gradient Editor for creating custom gradients.
Map: A map tells Photoshop how to assign or map colors based upon the luminance levels of the original image.
So together, you’ve got a gradient map. Photoshop can reassign the colors of the selected gradient to a new image. On it’s own, the gradient map is pretty ugly. But, toss in blending modes and you’ve really got some interesting results.
Let’s try the technique out.
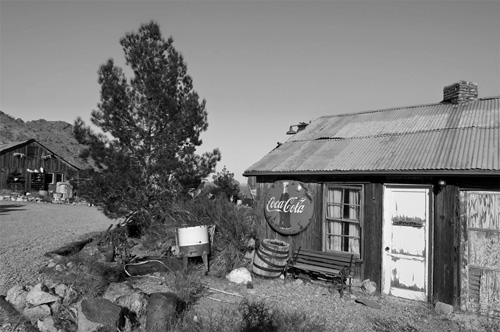
1.Open an image into Photoshop. You can use the sample image to follow along or an image of your own choosing.
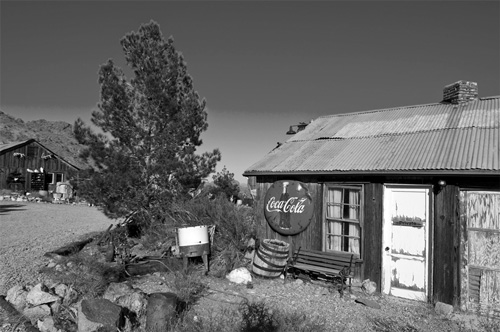
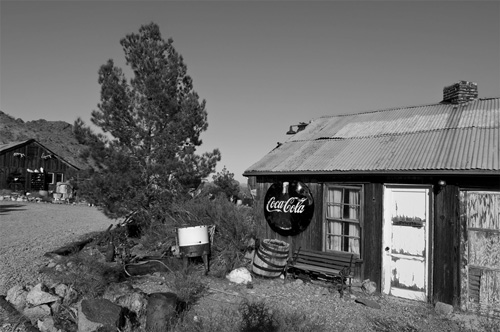
2.To make things easier, let’s desaturate the image into a black and white photo. You can use any of the following techniques to get a nice black and white image.
A Black and White adjustment layer
A Hue/Saturation adjustment layer to desaturate combines with a Levels adjustment layer to get proper punch in the contrast.
A Channel Mixer adjustment layer to create a Monochrome image based on the RGB channel values.
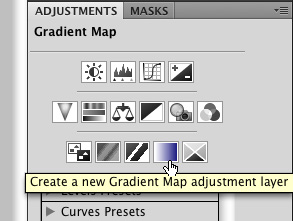
3.Apply a gradient map. The gradient map can be applied as an adjustment layer or image adjustment command (stick with the adjustment layer for greater flexibility). You can create a new Gradient Map by choosing Layer > New Adjustment Layer > Gradient Map or clicking the Gradient Map icon in the Adjustments panel.
Chances are your image now looks terrible… don’t panic. The Gradient Map will map a new gradient to the grayscale range of an image.
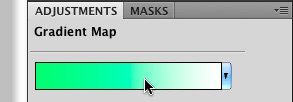
A two-color gradient produces a nice duotone effect.
Shadows map to one of the color stops of the gradient fill; highlights map to the other. The midtones map to the gradations in between.
A multicolored gradient or noise gradient can add interesting colors to an image.
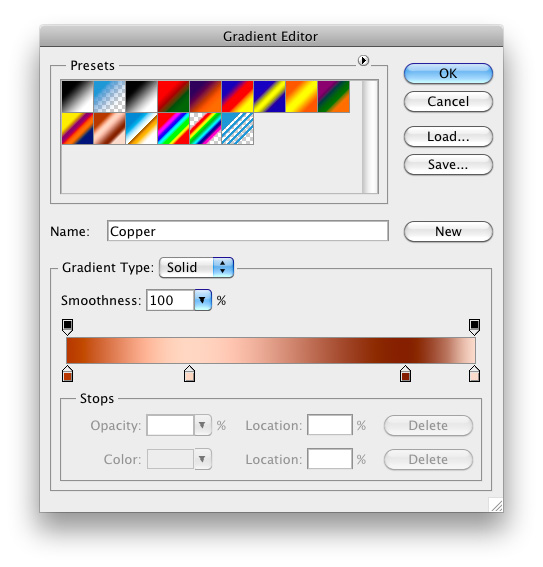
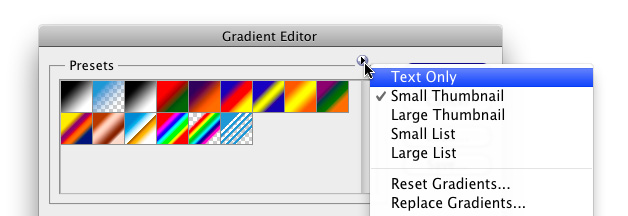
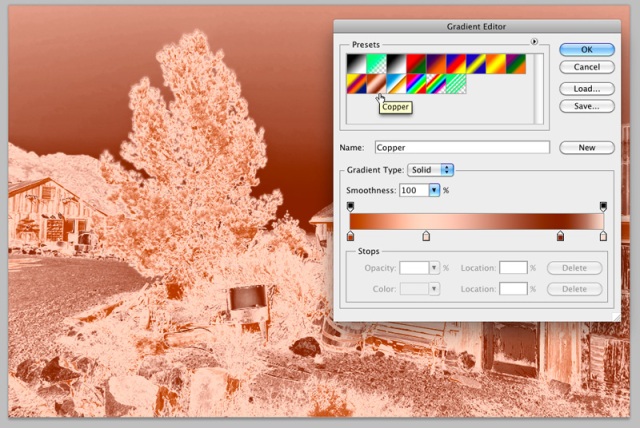
4.You need to customize the gradient and experiment to get new looks. To do this, you can use the standard gradient editor or additional gradient presets. To access controls, click the gradient thumbnail.
Presets: You have several preset gradients to choose from, and you can browse them by thumbnail. Additionally, you can load other gradients by clicking the panel’s submenu. Be sure to download additional gradients and add to your collection.
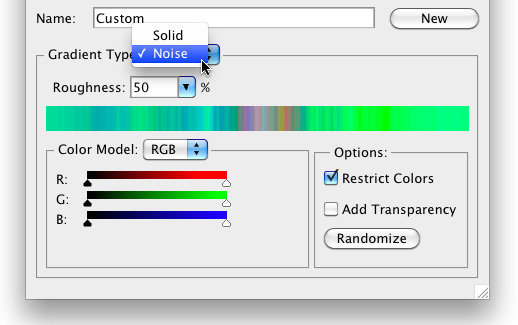
Gradient Type: The two major categories of gradients are Solid and Noise which are accessible from the pop-up menu. Solid gradients use color and opacity stops with gradual blends in between. Noise gradients contain randomly distributed colors within a user-specified range. Each has a unique interface that you can explore.
5.Choose a gradient that is to your liking… if you’re feeling finicky, just pick one you don’t hate. The technique is about to get a lot more interesting with blend modes.
6.To soften the effect, you can change the adjustment layer’s blending mode. Setting it to Hue, Color, Soft Light, or Overlay creates a nice tint effect. But the secret is to really experiment. Select the Gradient Map adjustment layer.
7.Choose the Move Tool then press Shift + = to cycle forward through blending modes. You can also press Shift + – to go backwards.
8.Once you find a combination you like, try the following options to get new results.
Try lowering the opacity of the adjustment layer.
Try applying the gradient map to a full color or reduced chroma image. To do this disable or lower the opacity of the black and white adjustment effect you created in Step 2.
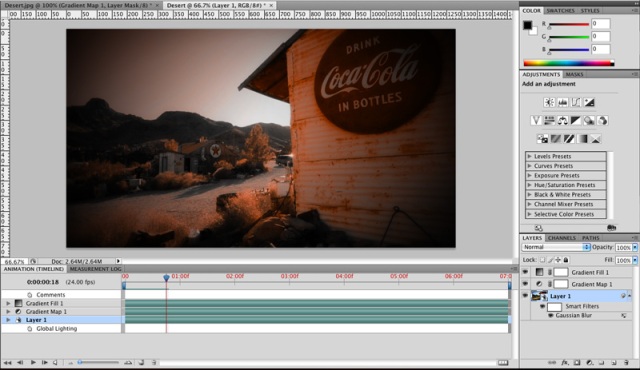
Try adding smart filters to stylize the footage even further.
If you have access to Photoshop Extended, try these techniques on video layers.
This technique is one that encourages you to experiment. Be sure to fully explore the flexibility of the gradient editor and the subsequent variations of using blending modes. Because adjustment layers can be copied from document to document, it’s quite easy to reuse your favorite effects on other images fast and easy.
Bio: Richard Harrington – A certified instructor for Adobe and Apple, Rich is a practiced expert in motion graphic design and digital video. Rich is a member of the National Association of Photoshop Professionals Instructor Dream Team, and a popular speaker on the digital video circuit.
Rich is an internationally published author. His book, Photoshop for Video, was the first of its kind to focus on Photoshop’s application in the world of video. He is also a contributing author for Apple’s Aperture, iLife ’09 and iWork ’09, Video Made on a Mac, and Producing Video Podcasts.
If you have an iPod touch or iPhone, you can get Rich’s training in your pocket, visit http://tinyurl.com/upapps.
.



[…] Color Grading with Gradient Maps | TipSquirrel […]
The possibilities are endless. This tutorial gave me lots of new ideas. Thanks.